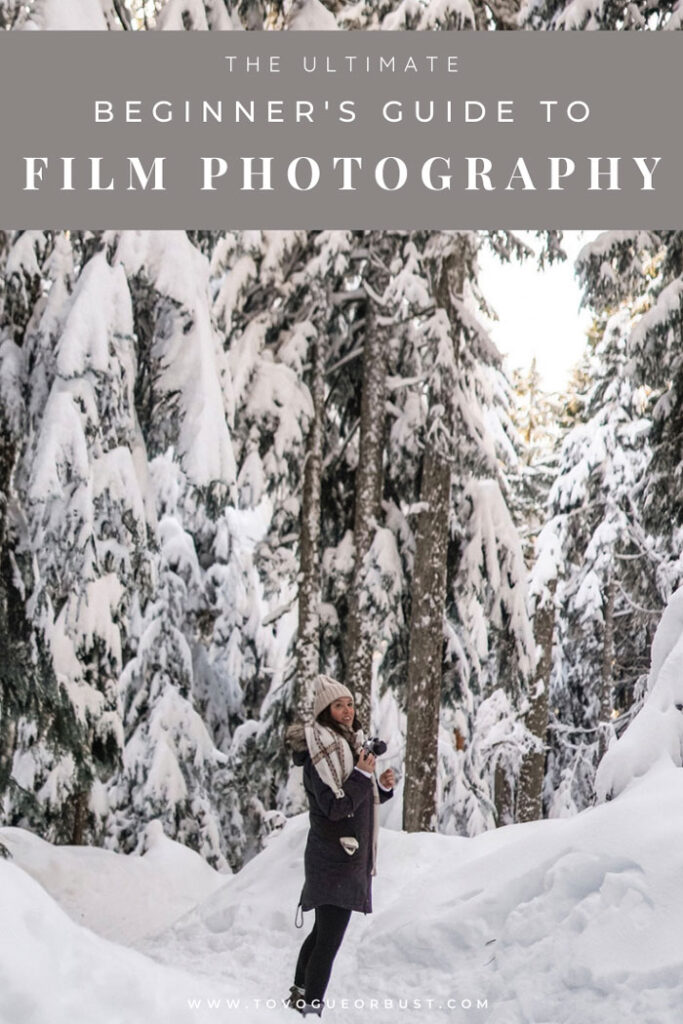
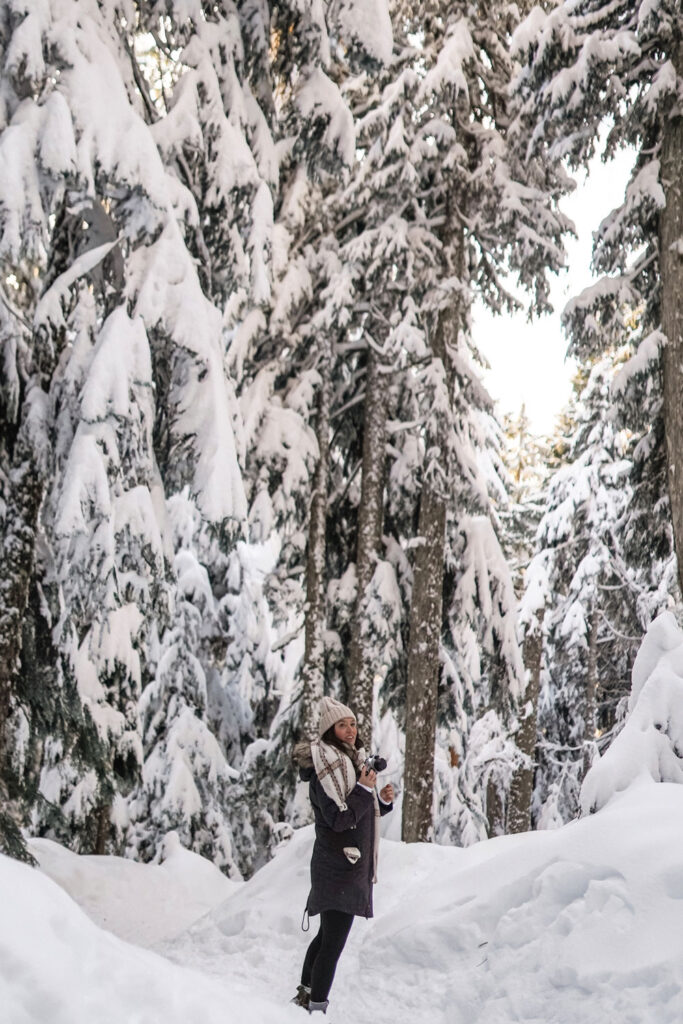
If you’ve been following along on my Instagram the last little while, it’s probably become pretty evident that I’ve developed a serious love for film photography, so I’m so excited to be sharing some film photography beginner tips today! Last spring, I was 6 months postpartum and while I was on one hand very blissed out and over the moon in love with my little Cal Pal, on the other hand I was also kind of reeling from a bit of a loss of self, struggling with connecting to a new identity and feeling like along with limited time to invest into a career that means a lot to me (and that at its core is very creative), I also wasn’t prioritizing time to explore and continue to develop my creativity, which is something that’s really important to my overall sense of happiness.

As the universe often does, I kind of put it out there that I wanted to feel inspired and creative again and needed a sign—lo and behold, I started to see film photography everywhere I went.
Whether it was a blogger I admired sharing their journey into film or discovering a pin on Pinterest that I just became infatuated with and realizing it was film, the signs were all there and I just had to pull the trigger on the first step (getting a cam + some film) to start exploring this. I found a Canon AE-1 on Facebook Marketplace, drove out to Marpole to get it and so began my film journey! 9 months later & I honestly love it more & more with every new film roll I shoot…it’s been a simultaneously inspiring, exciting, humbling, grounding and meaningful experience.

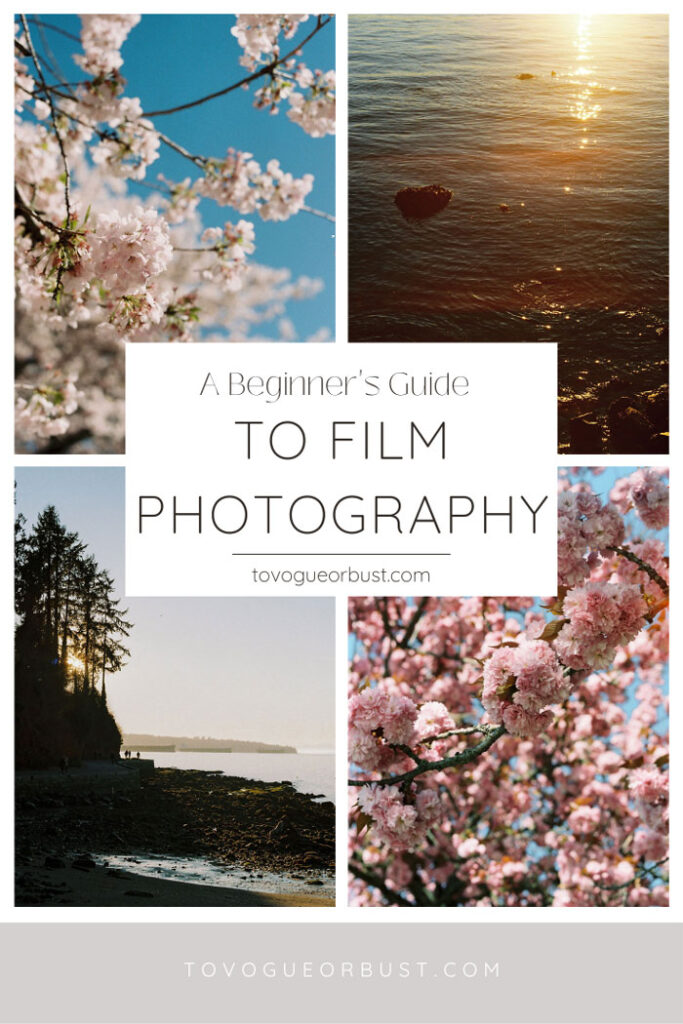
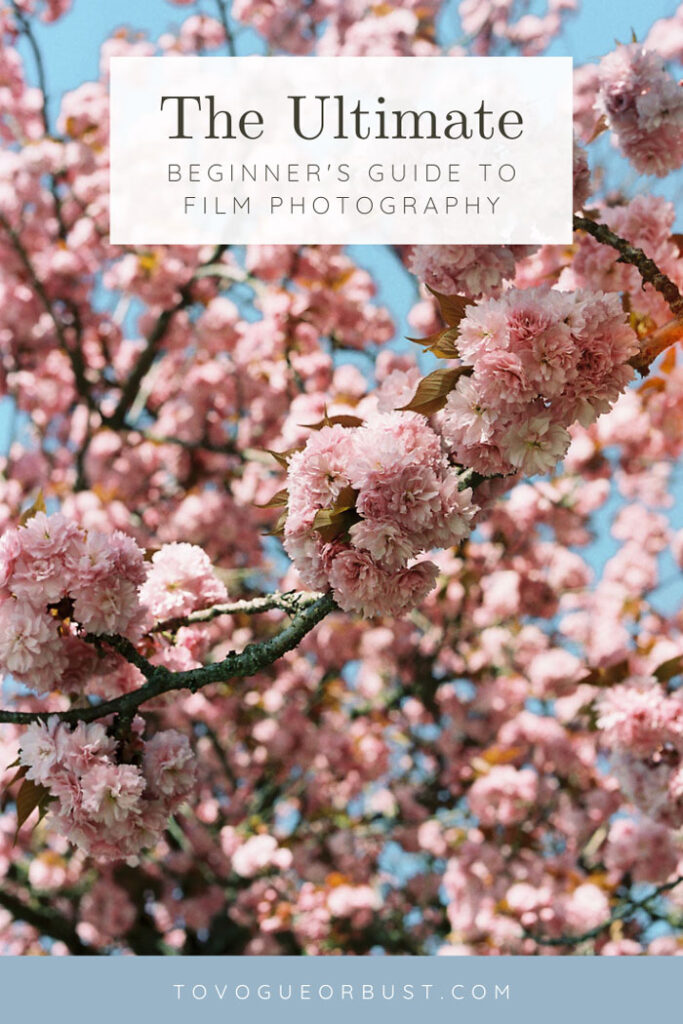
While obviously the main principles and rules of photography largely stay the same, the experience itself is very different than digital photography, and I personally find the end results are different as well…there’s something about a film shot that not only feels more alive to me just in seeing any film snap, but in reviewing my own I find there’s more connection to the moments and experiences since you have to be a lot more intentional in shooting than with digital! Anyway, I’ve absolutely been blown away by the response I’ve gotten on social…so many of you have reached out in my DM’s asking for a guide and expressing interest in starting film yourself, so this is a beginner’s guide to film! I tried to keep it the MOST basic I could because you don’t need to be overwhelmed with a million tips or tricks…this is just to get you started!
Find a camera
So, step number uno: you’re going to have to get yourself a camera. And the one unfortunate part about shooting film is unlike digital cameras, you can’t really step into your local camera or big box store and get to try a few sample snaps in person. You’ll have to just do some research, source one secondhand and start snapping! Having said that, here are a couple tips.
First of all, ask your parents, grandparents, friends, etc! Someone in your circle likely has a film camera kicking around…the state it’s in is another question (but one that you can find an easy answer to by taking it into a film specialty store, somewhere like Beau Photo Supplies here in Vancouver) but ask there first!

While you can find a bunch of great secondhand options on Facebook Marketplace, Craigslist, etc, if you want to ensure that your camera is in mint condition and has been checked out by a pro (which is key since there are things to look out for [like fungus and mirror alignment] that aren’t as much a concern with digital), I’d suggest going to an actual reputable and/or certified camera reseller. I recently got a new one from the Camera Trading Company, you can go in-person to your local film or camera specialty store and see what they have on hand, and both eBay and Etsy will have pro vendors on hand as well!

Don’t know which one to go for? I’d suggest going with a 35mm camera because they’re the most widely available, easiest to shoot with and give you the best bang for your buck (both as far as the cost for the camera and for 35mm film). I started with a Canon AE-1 which is kind of the gold standard of intro cameras…it’s small, easy to use and so far (other than needing a look at its light seal) it’s been great for me! I got a Minolta X700 as a treat to myself recently because I think it’s just slightly more advanced (while still being a good intro cam) as I continue to improve (and in exploring lots of film accounts, it seems to really work amazingly for the type of photography I love, which is largely landscape/travel shots). The Minolta SRT-101, Nikon F2 and Olympus OM1 also come up all the time and all produce beautiful images without being difficult to operate!
Buy some film
This is the aspect of film photography which to me, is the most exciting and fun part (other than waiting to get your film roll back, of course)! So just to do a super basic run-down on what to expect for film if you’ve never shot with it before…if you’re going ahead with 35mm film, you’ll be able to expect either 24 or 36 exposures per roll. The numbers on the film stock (200, 400, 800, etc) indicate the ISO or ASA of the film stock. ISO in its most basic definition simply brightens or darkens an image…the lower your ISO is, the better it is for bright conditions, while the higher your ISO is, the better it is for dim conditions.
400 ISO is a fairly safe ISO to choose, and some of the most popular film stock is 400 (Kodak Portra 400 is one that comes to mind, basically the “it” film stock for pro photographers and consumers alike). Speaking of Portra, there is slightly more expensive “professional” film and slightly more inexpensive “consumer” film. While you’re learning, I’d suggest going with something like Fujifilm Superia…it’s still an awesome film stock (so many of my shots in this post are shot with it!) but it’s a bit cheaper and easy to source (even London Drugs has it).
While each film roll pulls colour differently, depending on if you like warm tones or cool tones, an easy way to remember which roll is best for which is the colour of the film stock box…Kodak generally pulls warm tones and is yellow, Fujifilm pulls a bit cooler and is green, etc. This isn’t an exact rule but a general rule of thumb!

Once you’ve bought your film, you’ll want to set your ISO knob to the number on the box and then don’t touch it…you’ve “rated” your film appropriately and you’re good to start shooting!
Loading your film
Okay, time to load your film! While loading your film is generally the same process for most cameras, my best tip here would be to simply look up your model on YouTube and follow along with a tutorial there…you’d be surprised by the huge array of model tutorials camera buffs have covered, it’s such a great resource! Take your time and really ensure it’s loaded properly.

Just as a quick run down, you’ll open the back of your camera (usually by pulling up on your camera back release knob), insert your film roll canister into the film compartment, pull the tapered tab of film that’s exposed into the film take-up reel and make sure it’s inserted into the teeth there. You will then advance and shoot on your shutter button, repeating until you can see it’s wrapped around the take-up reel. Close the back of your camera, make sure your camera back release knob is down (to lock the back) and continue to shoot + advance until your exposure counter is at 0. Then you’re good to shoot!

Time to shoot!
Okay, this is the fun part! This is going to be a bit dependent on your camera so again, a quick YouTube video tutorial is well worth watching, but on my Canon AE-1 at least, it’s generally shutter speed priority…I set the shutter speed to what I think I’ll need in the lighting situation (generally that’s higher for brighter conditions, lower for dimmer conditions) and I press the shutter button down just halfway. Looking inside my viewfinder, there’s an aperture reader that suggests what I should set my aperture at based off of the shutter speed selected and the lighting. This internal light meter is usually pretty accurate but I may invest in an external light reader one day just to get a really accurate reading!
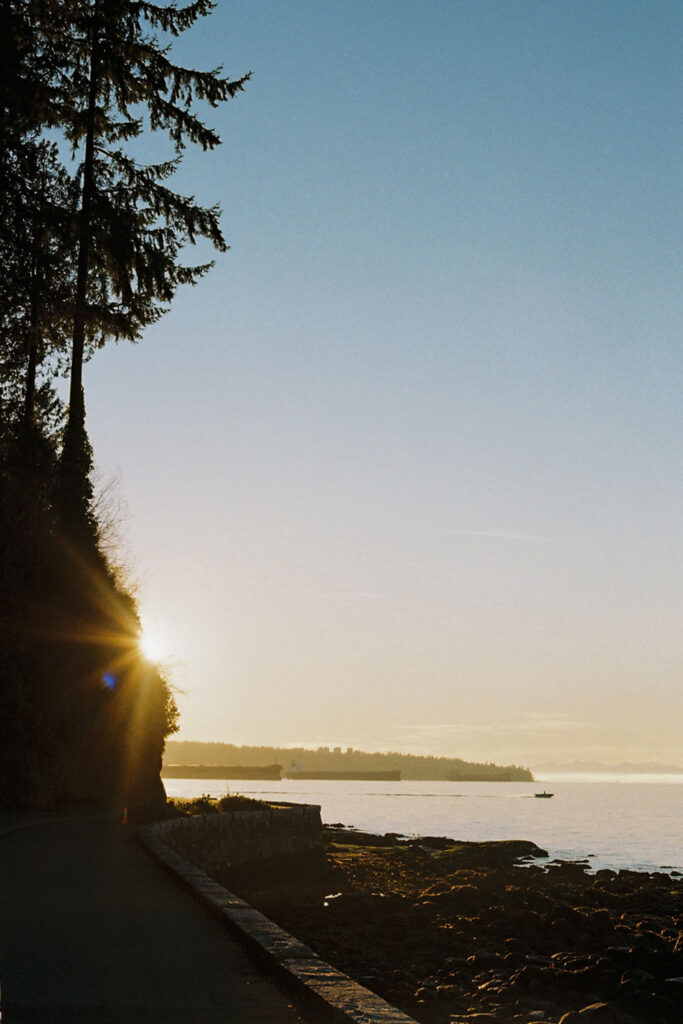
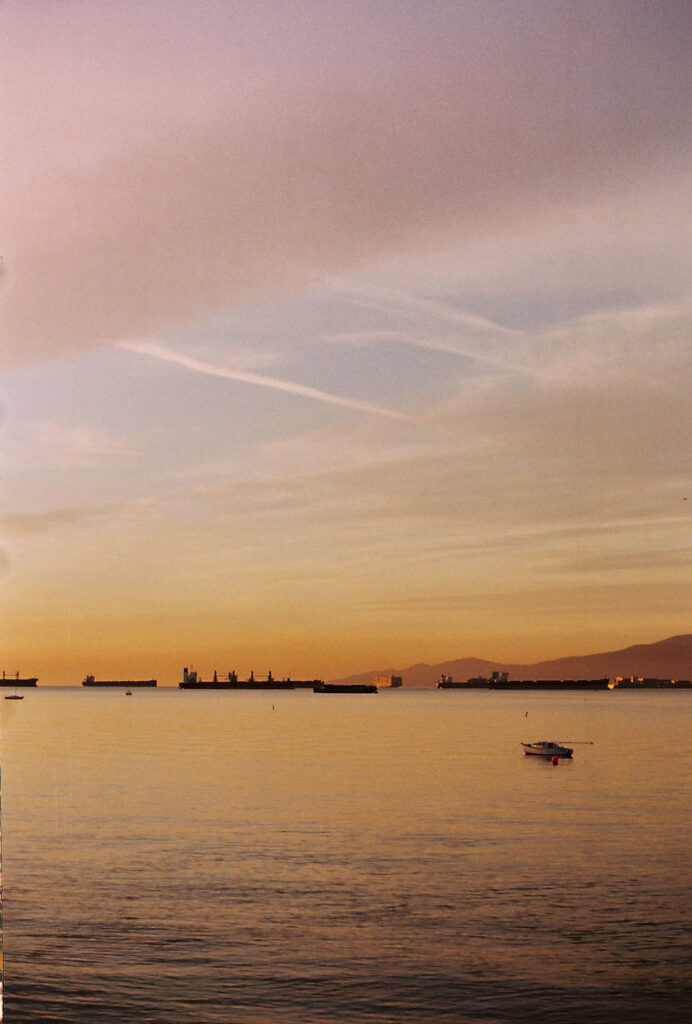
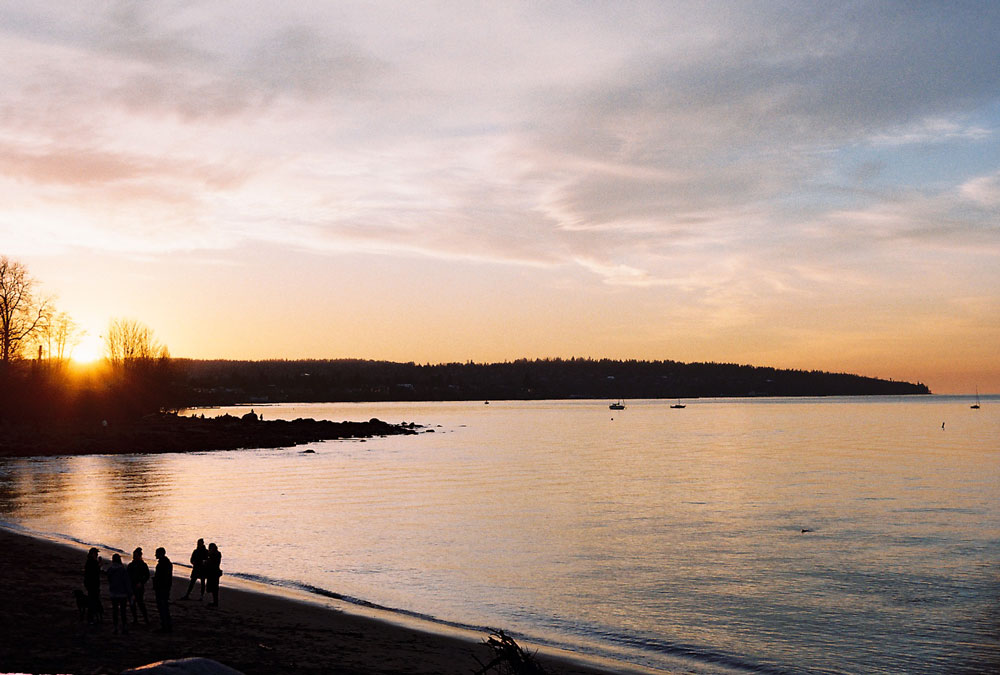
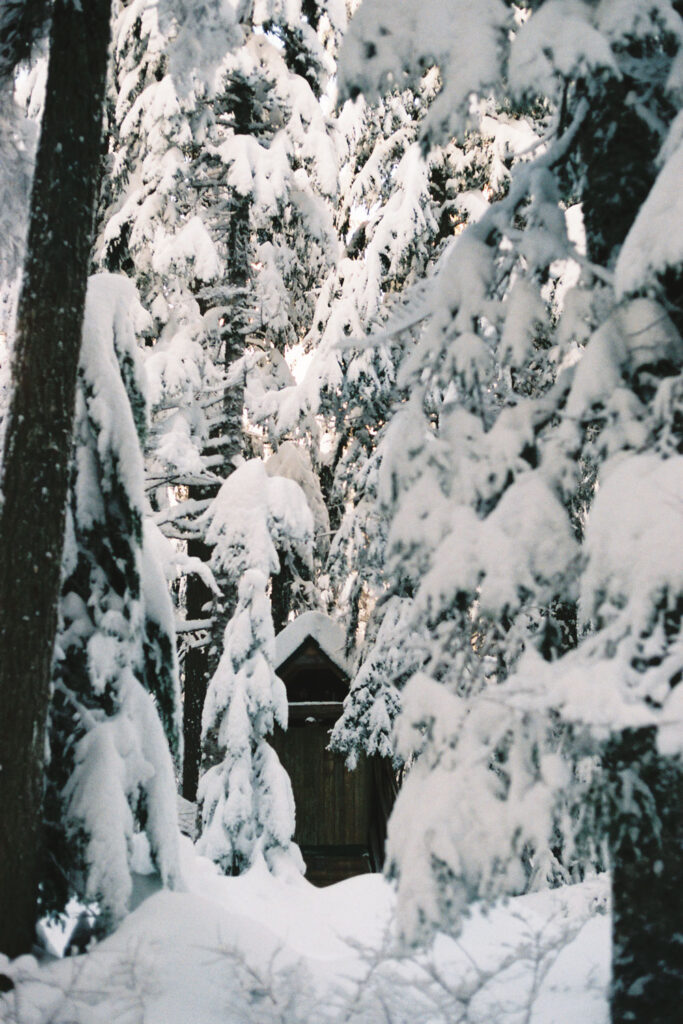
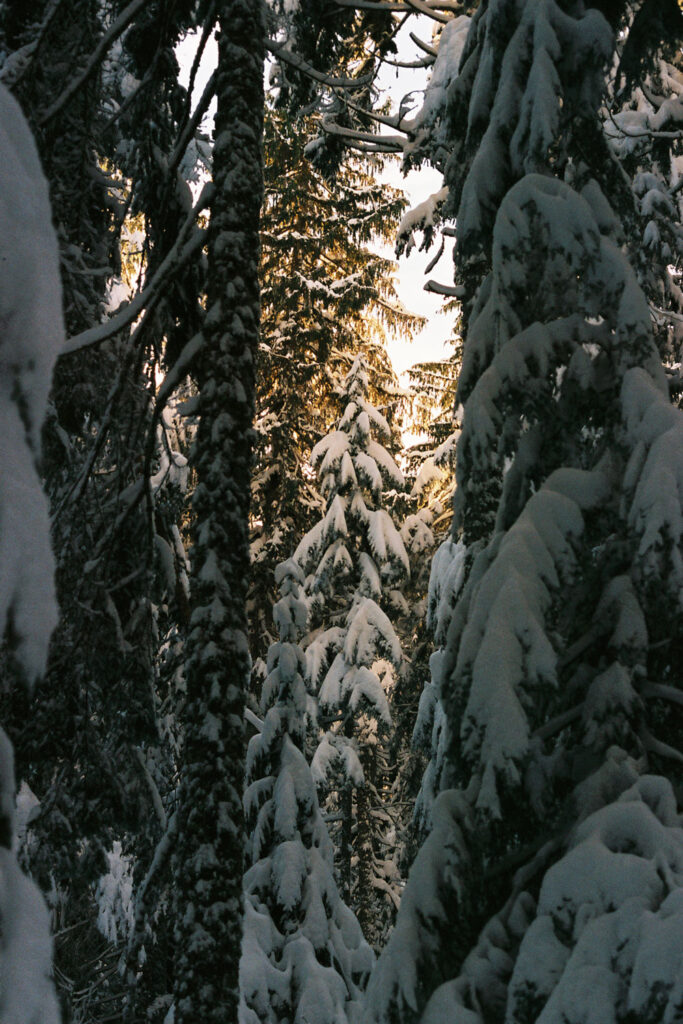
One rule of thumb to remember is unlike with digital (where it’s easier to brighten in editing than to try to reduce exposure on an overexposed image), film can actually take a lot of light/exposure. It’s generally better to actually err on the side of overexposing an image than underexposing, because once it’s developed, it’s really difficult to edit shadows or highlights that got lost because of underexposure. Sometimes, depending on even just a slight angle shift your aperture (or shutter speed, depending on your camera) recommended point will swing from one point to another…it’s better to go for whatever will result in a brighter image (so, lower shutter speed or lower aperture). A quick example above, that first pic was probably a bit underexposed and I had to fiddle with it a bit in editing, which I usually don’t have to do for most of my scans. The next snap was exposed properly and didn’t require any edits!
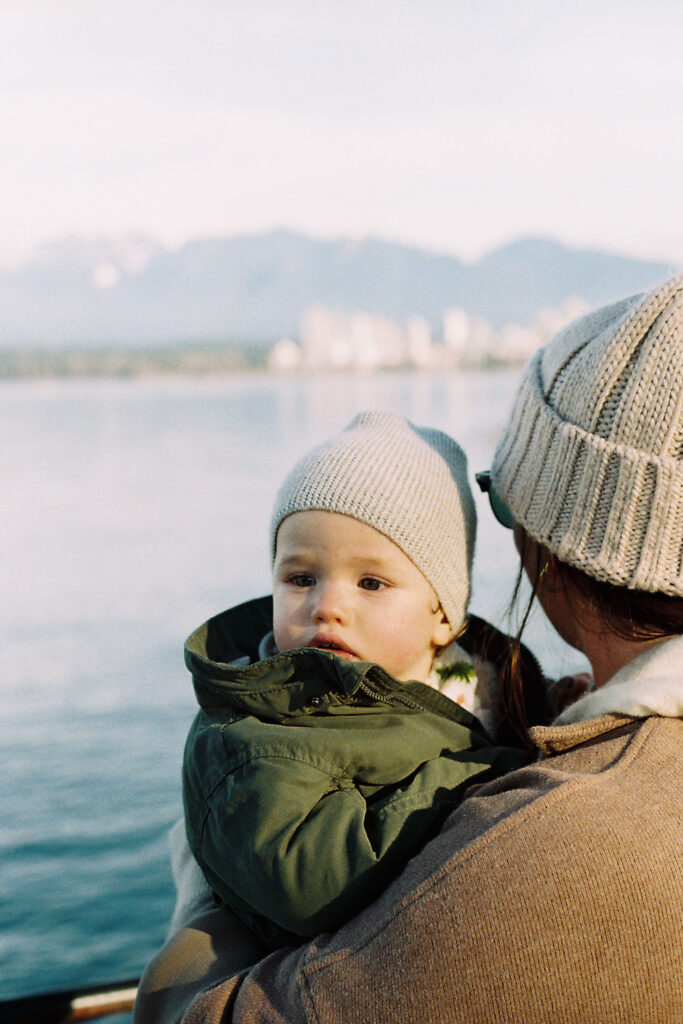
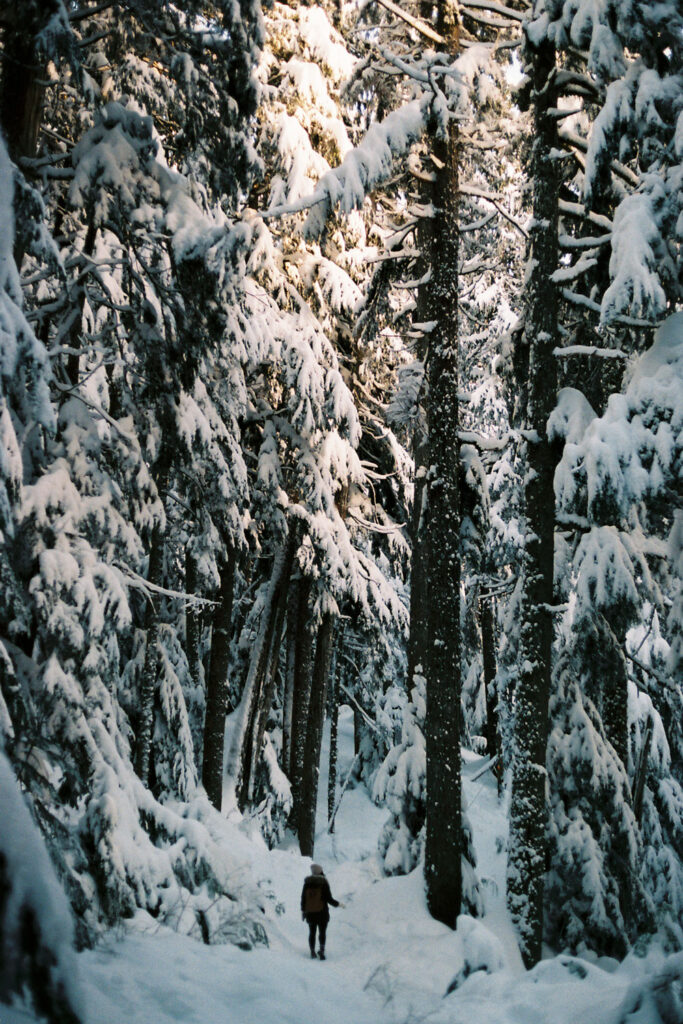
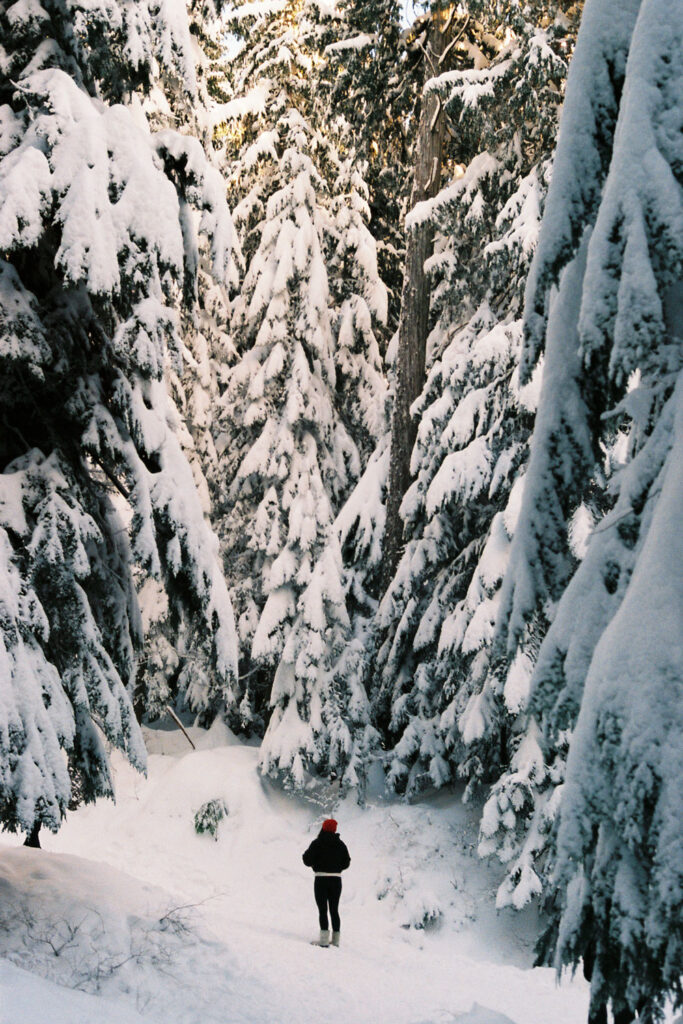
Most (but not all) models will require manual focusing. A lot of them have two split circles in the middle of your viewfinder that will either match up or focus when your image is properly focused on the subject, but this part is what I’ve had to get most used to since I’m used to generally shooting with an auto-focus lens! You get the hang of it quickly though…just tricky with a crazy active baby! But the beauty of film is the blurry snaps or happy mistakes actually can turn out really beautifully and capture the actual energy of the moment.
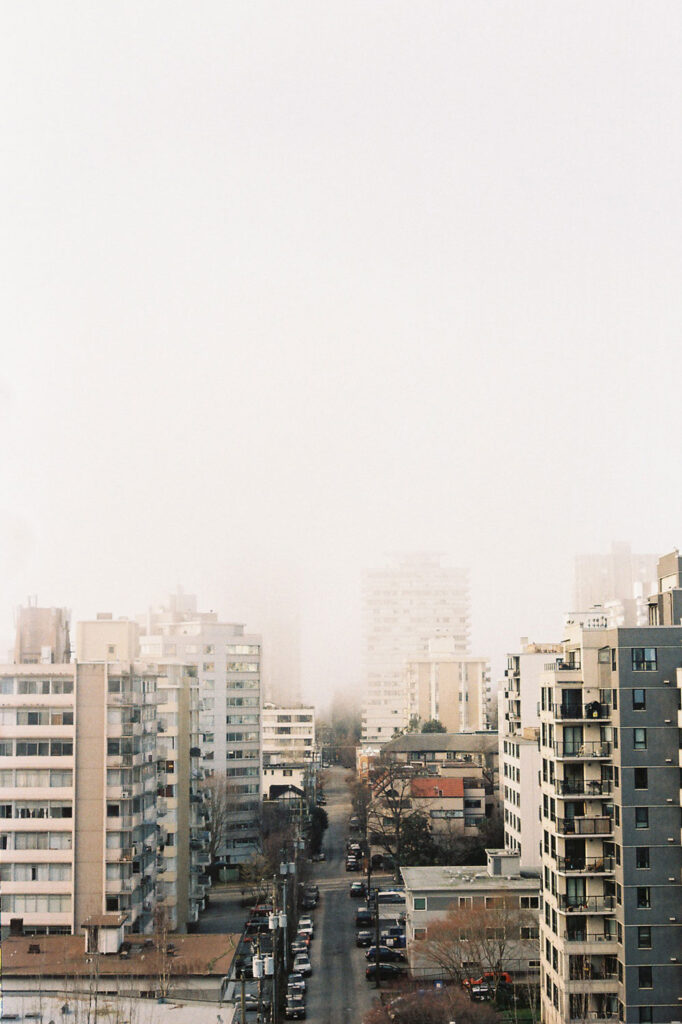
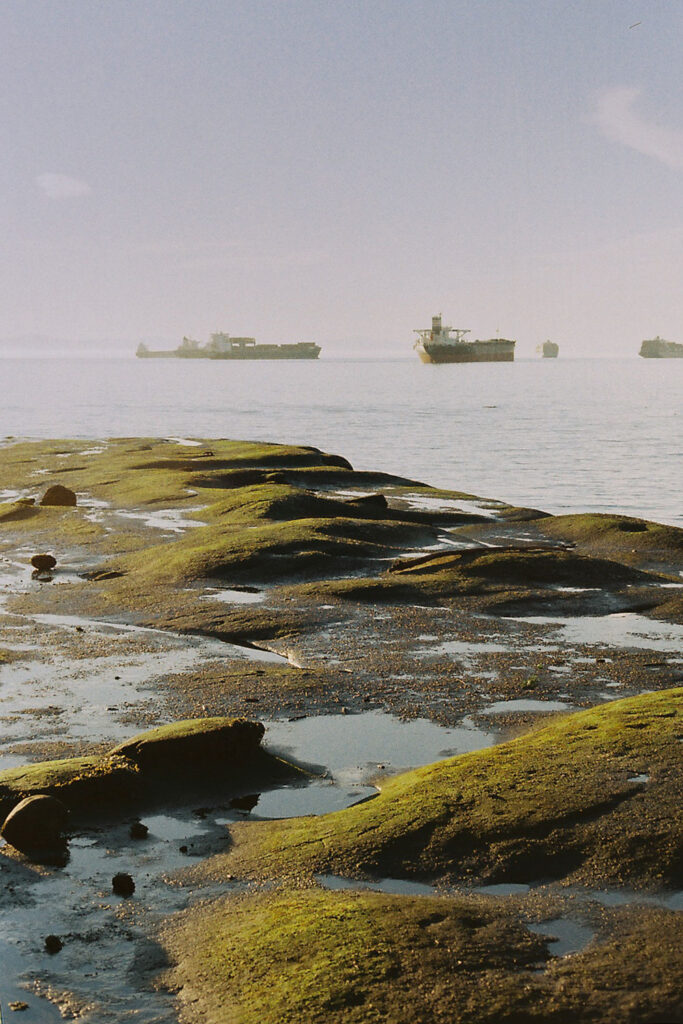
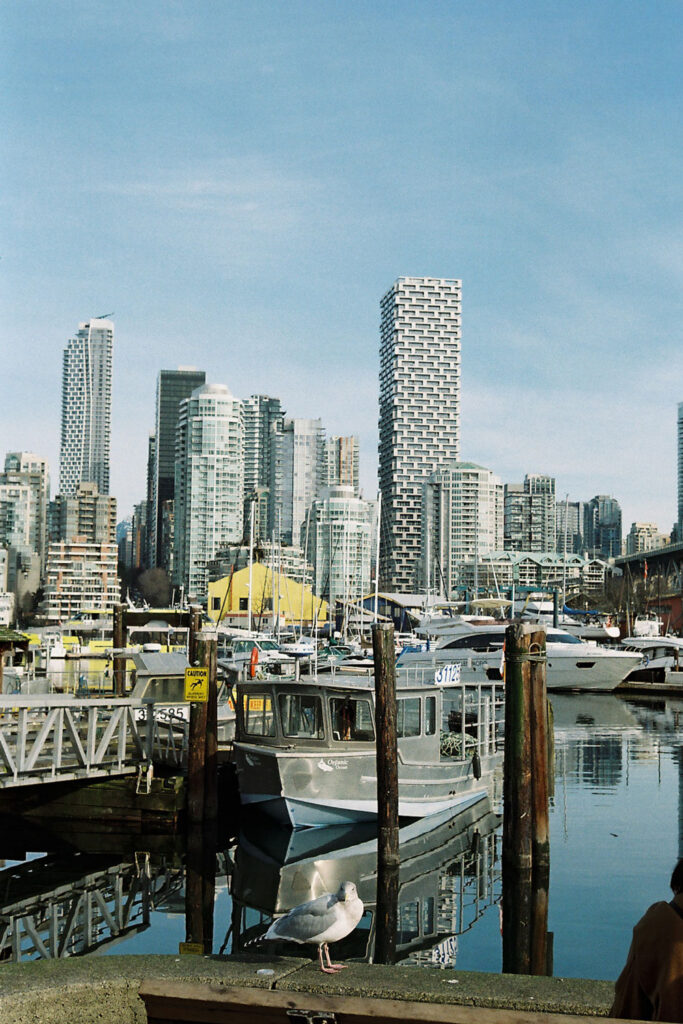
As far as what to shoot, my suggestion at the beginning is rather than shooting a bit at a time, take yourself on a photo date and shoot a whole roll in one go…pick a gorgeous day and shoot from afternoon into sunset, or go to a botany centre, cool cityscape or garden and practice shooting in different lighting, different distances, etc. Shoot a whole roll but really try to explore a range of techniques, distances, framing, etc and try to be really present in the experience, remembering how you’re doing x y z (better yet, take notes)! Get it developed as soon as you can so that with all of that fresh in mind, you can see what worked and what didn’t before spending $$$ on more rolls or development.
Unload your film + get it developed
This is the most anxiety-inducing time for me because I maaaaay have accidentally opened my back a couple times (this is a no-no but also a rite of passage for any film newbie [or pro for that matter…it just happens]). Not to sound dramatic but light exposure is basically like death to film. If you do accidentally open the back, just shut it as soon as you can…you’ll likely still have most of your roll saved but may lose some of the frames that were exposed.

All that to say, watch and rewatch a tutorial on how to unload your film properly and take it slow the first time you unload it. Now, it’s a pretty automated and fast process to me, but it’s kind of a very integral part and it’s also potentially the most devastating if you get it wrong and ruin a whole roll you lovingly shot! It’s only happened to me once (the total destruction of a roll, that is) but it was upsetting, so try to learn from my mistakes!
You’ll know you’re done shooting your roll not only based off of the exposure count, but because you won’t be able to advance your roll anymore (don’t keep trying to push it…just move it back to its usual position and know it’s time to unload!). To unload, you’ll press the rewind release button (on the bottom of your camera)…make sure you do this quite intentionally! Mine is a bit finicky so I usually hold it down while I start rolling my film back into the canister just to make sure it got depressed the whole way.
Without lifting the knob, simply extract the film rewind lever (that’s on the knob) and follow the direction of the arrow that’s on there (usually clockwise) and begin rolling. You’ll feel a slight resistance that tells you you’re rolling your film…most exposure counts will count backwards so you can see when it’s rolled all the way back in, but to be safe, you can also just go off of feel. You won’t feel any more resistance once the roll is fully back in the canister.
When this is done, you can now lift up the camera back release knob and your roll should be all set! Time to drop off at your local film lab or if you don’t live near a film development lab, you can mail it into a lab that does development!
Right now, I generally just get my film developed and scanned…since I’m planning on creating some prints from some of my film, I’m trying to make sure I safely store all my negatives to get larger scans done when I open my print shop! But if it’s just to see how a roll developed, most smaller scans even will be more than big enough to print for your own use, to post to social, etc.
A couple final little tips to wrap this up!
First off, store your film in the fridge! It does best in cooler temps so whether it’s film you’re waiting to get developed or film you haven’t used yet, get a little container and stick it in there along your cheeses and milk.
And last tip, you really want to hold your camera very steady…I’m talking keep your elbows in, keep the camera close to your body and have a really good grip on it to minimize shake. With digital (and particularly with our phones) I feel like we’re just unconsciously in the habit of snapping on the run. It’s really important for a crisp image to stay still…as you can see with that one strawberry moon snap I tried to get earlier in this post, I was not still enough for such a dark setting, but I still love how it turned out!
I hope this helped any of you who are considering entering this amazing world of film photography! It’s hard to articulate how amazing and special an experience it’s been for me…I really feel so much more reconnected with my creativity, I feel like I notice and appreciate the beauty around me more (I try to always keep my camera on me but there’s been so many times that I just notice a gorgeous picture in the making [even more so than before] and say to Matt “agh I wish I had my film camera on me!!!”) and of course, there’s something about the photos themselves that have become deeply meaningful to me.
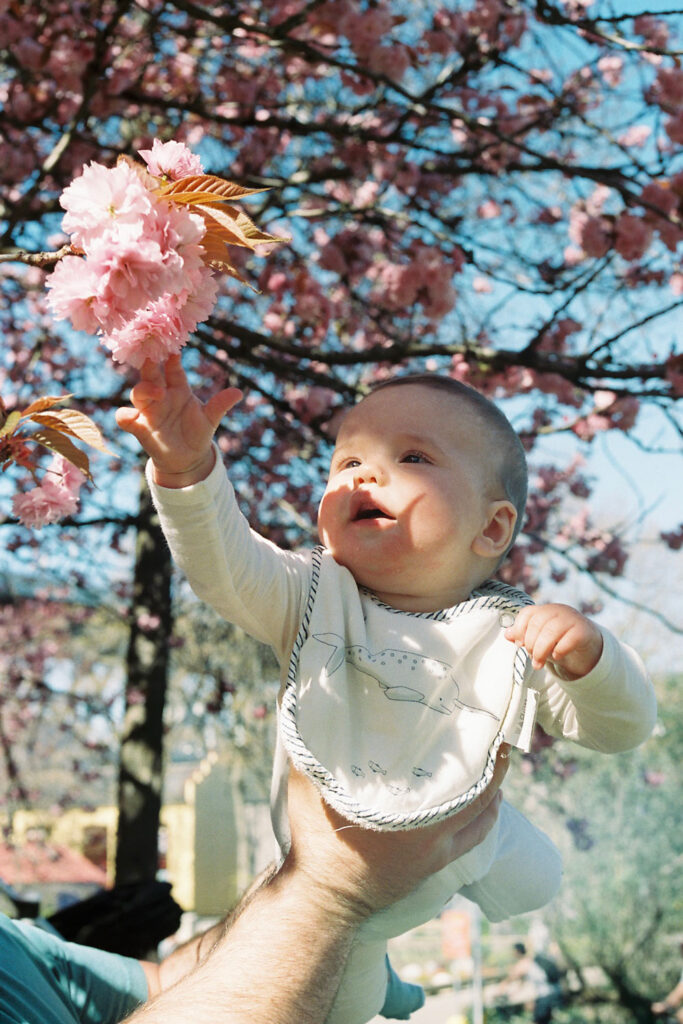
Some of my favourite Cal snaps are captured on film, so many special memories over the last year are film (kicking myself though for not bringing it to Québec!) and I just feel like it’s helping me experience my city and my surroundings in such a richer way.

As mentioned, along with some of my digital shots I’m really excited to incorporate my film photography into my print shop, so if you have any favourites please let me know and I’ll include them! Happy snapping!
pin me